Best WordPress Cache Plugin
Overview
This is a bit different guide than I usually publish, but I really wanted to write about the best WordPress cache plugin I found and personally use. Recently, I needed to manage a WordPress installation, and this is what I observed:
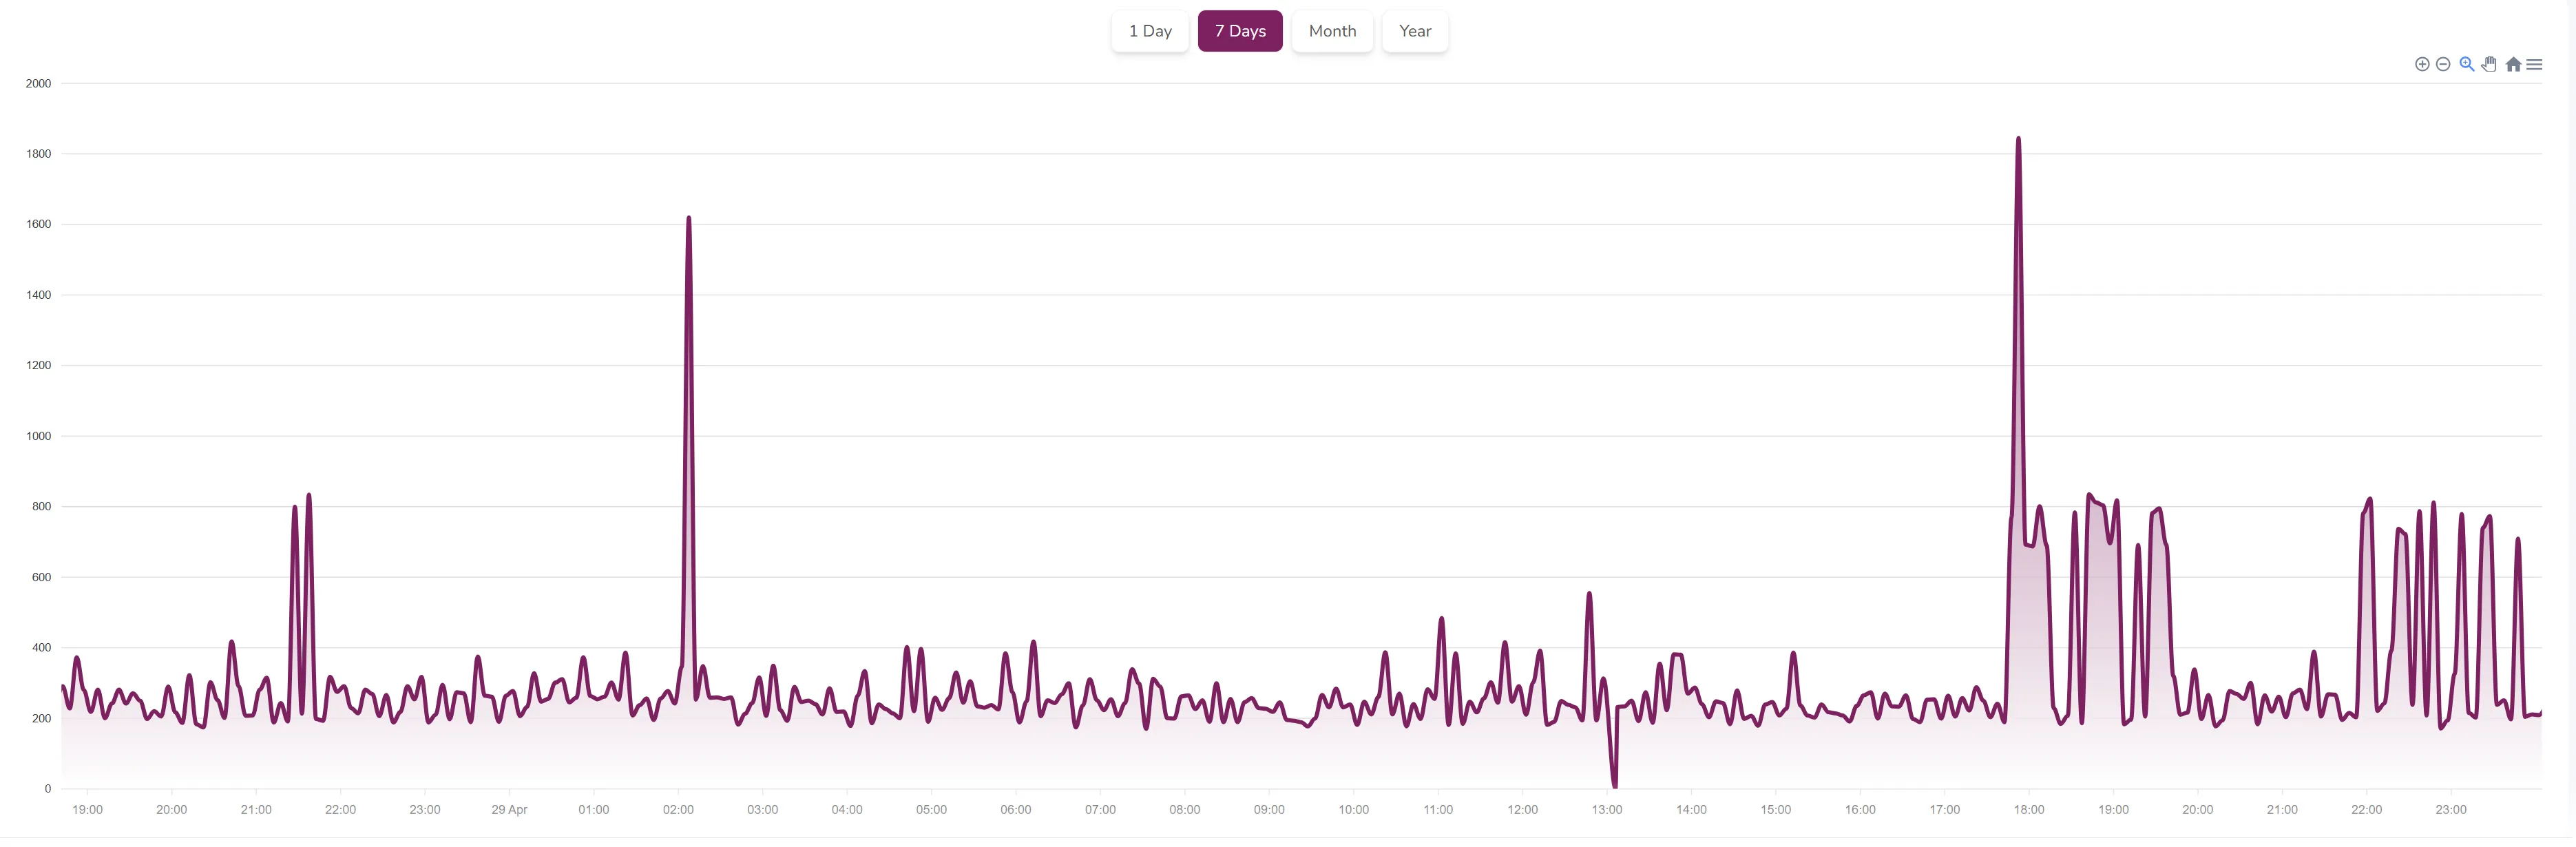
As you can see, my monitoring shows that the WordPress website mostly responds between 200 & 400ms, which I think is acceptable. However, there are several instances above 1 second, and very often it was around 800ms, which was definitely disappointing.
Long story short, I spent one night figuring out how to make it faster. The solution was to use Cloudflare with the Super Page Cache WordPress plugin.
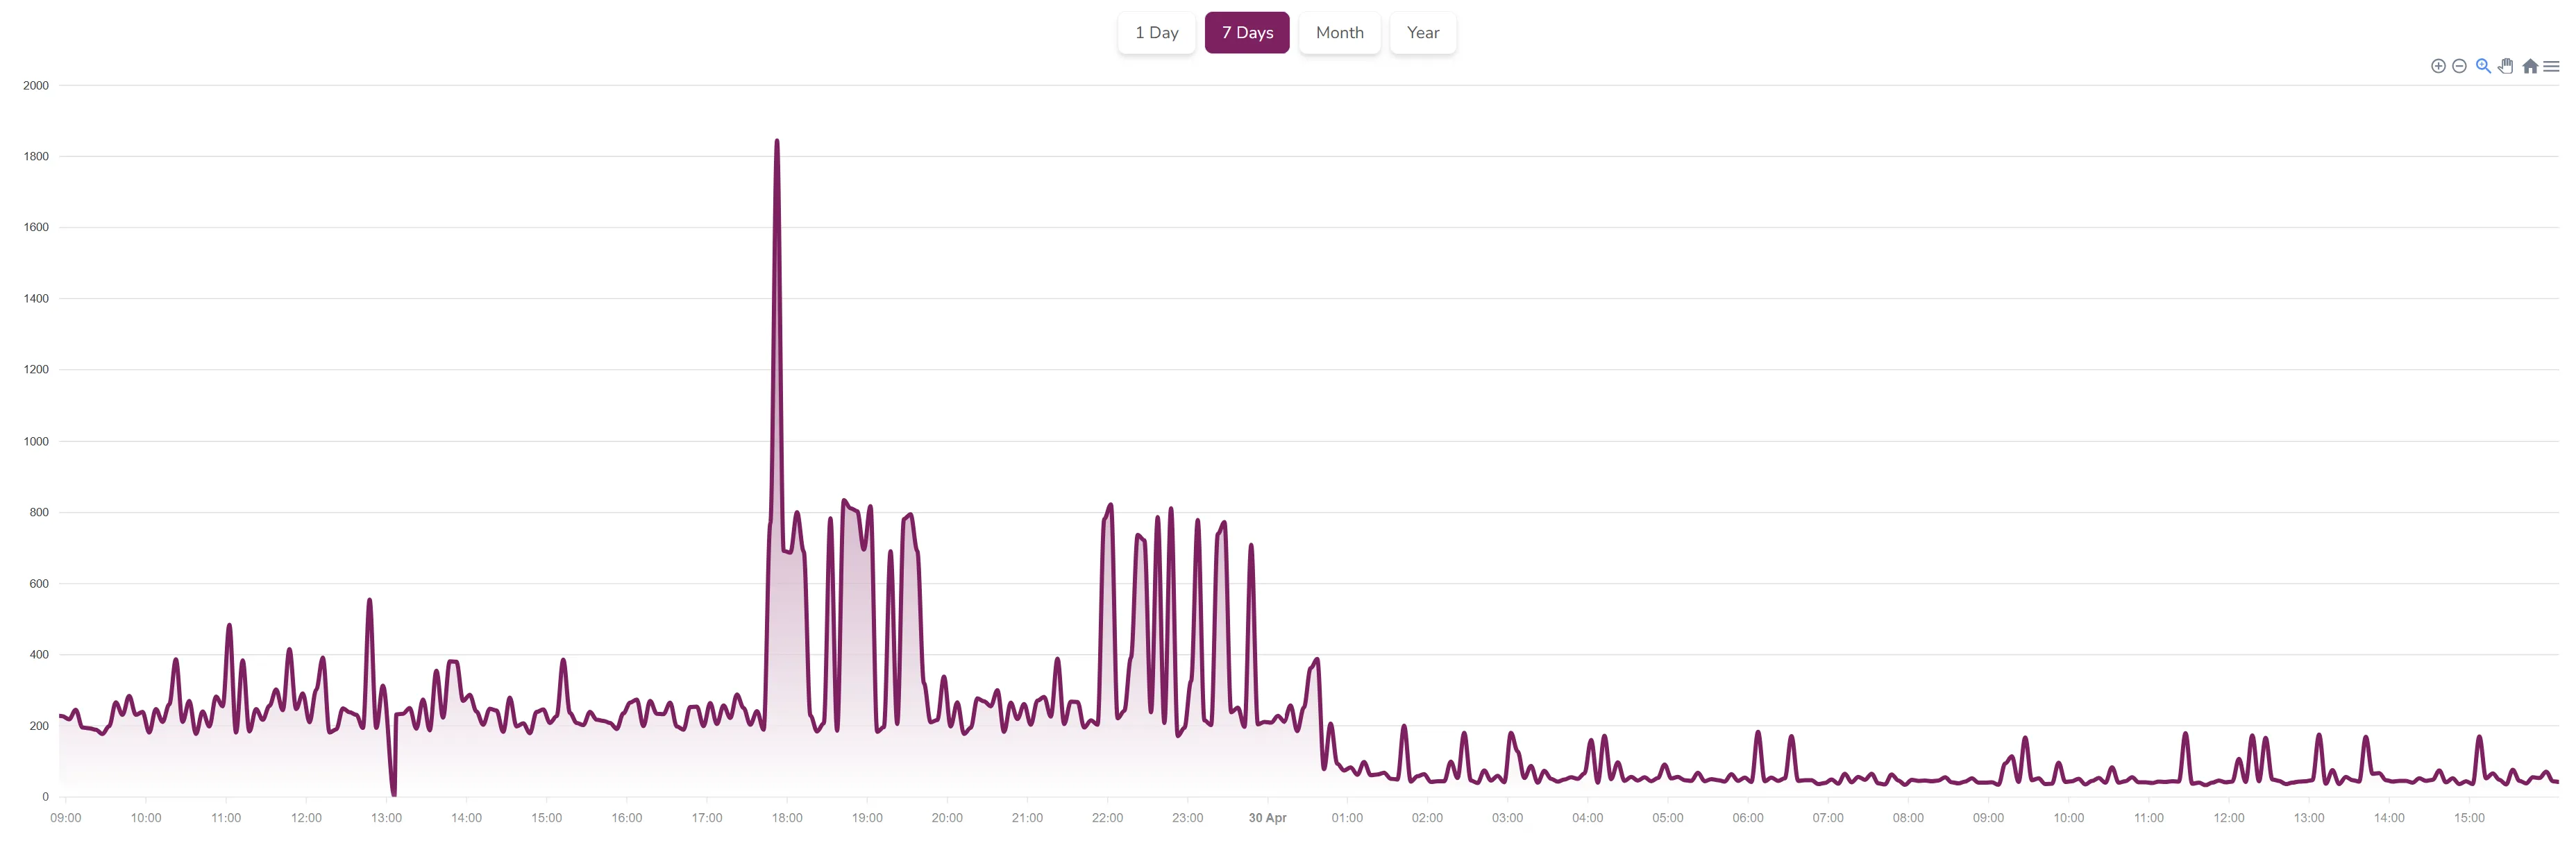
After successful deployment, you can see a new graph from my monitoring. I deployed the Super Page Cache WordPress plugin around 1:00, and now all requests are between 30ms and 200ms, which is amazing. Basically, I have the same statistics from my static websites that I host on S3!
Below, I provide a step-by-step guide to deploy the Super Page Cache WordPress plugin the same way I did.
Requirements
So, the first and most obvious requirement is a WordPress website that you want to speed up. Second, you need a free Cloudflare account. Just go to cloudflare.com and register there.
Add domain to cloudflare
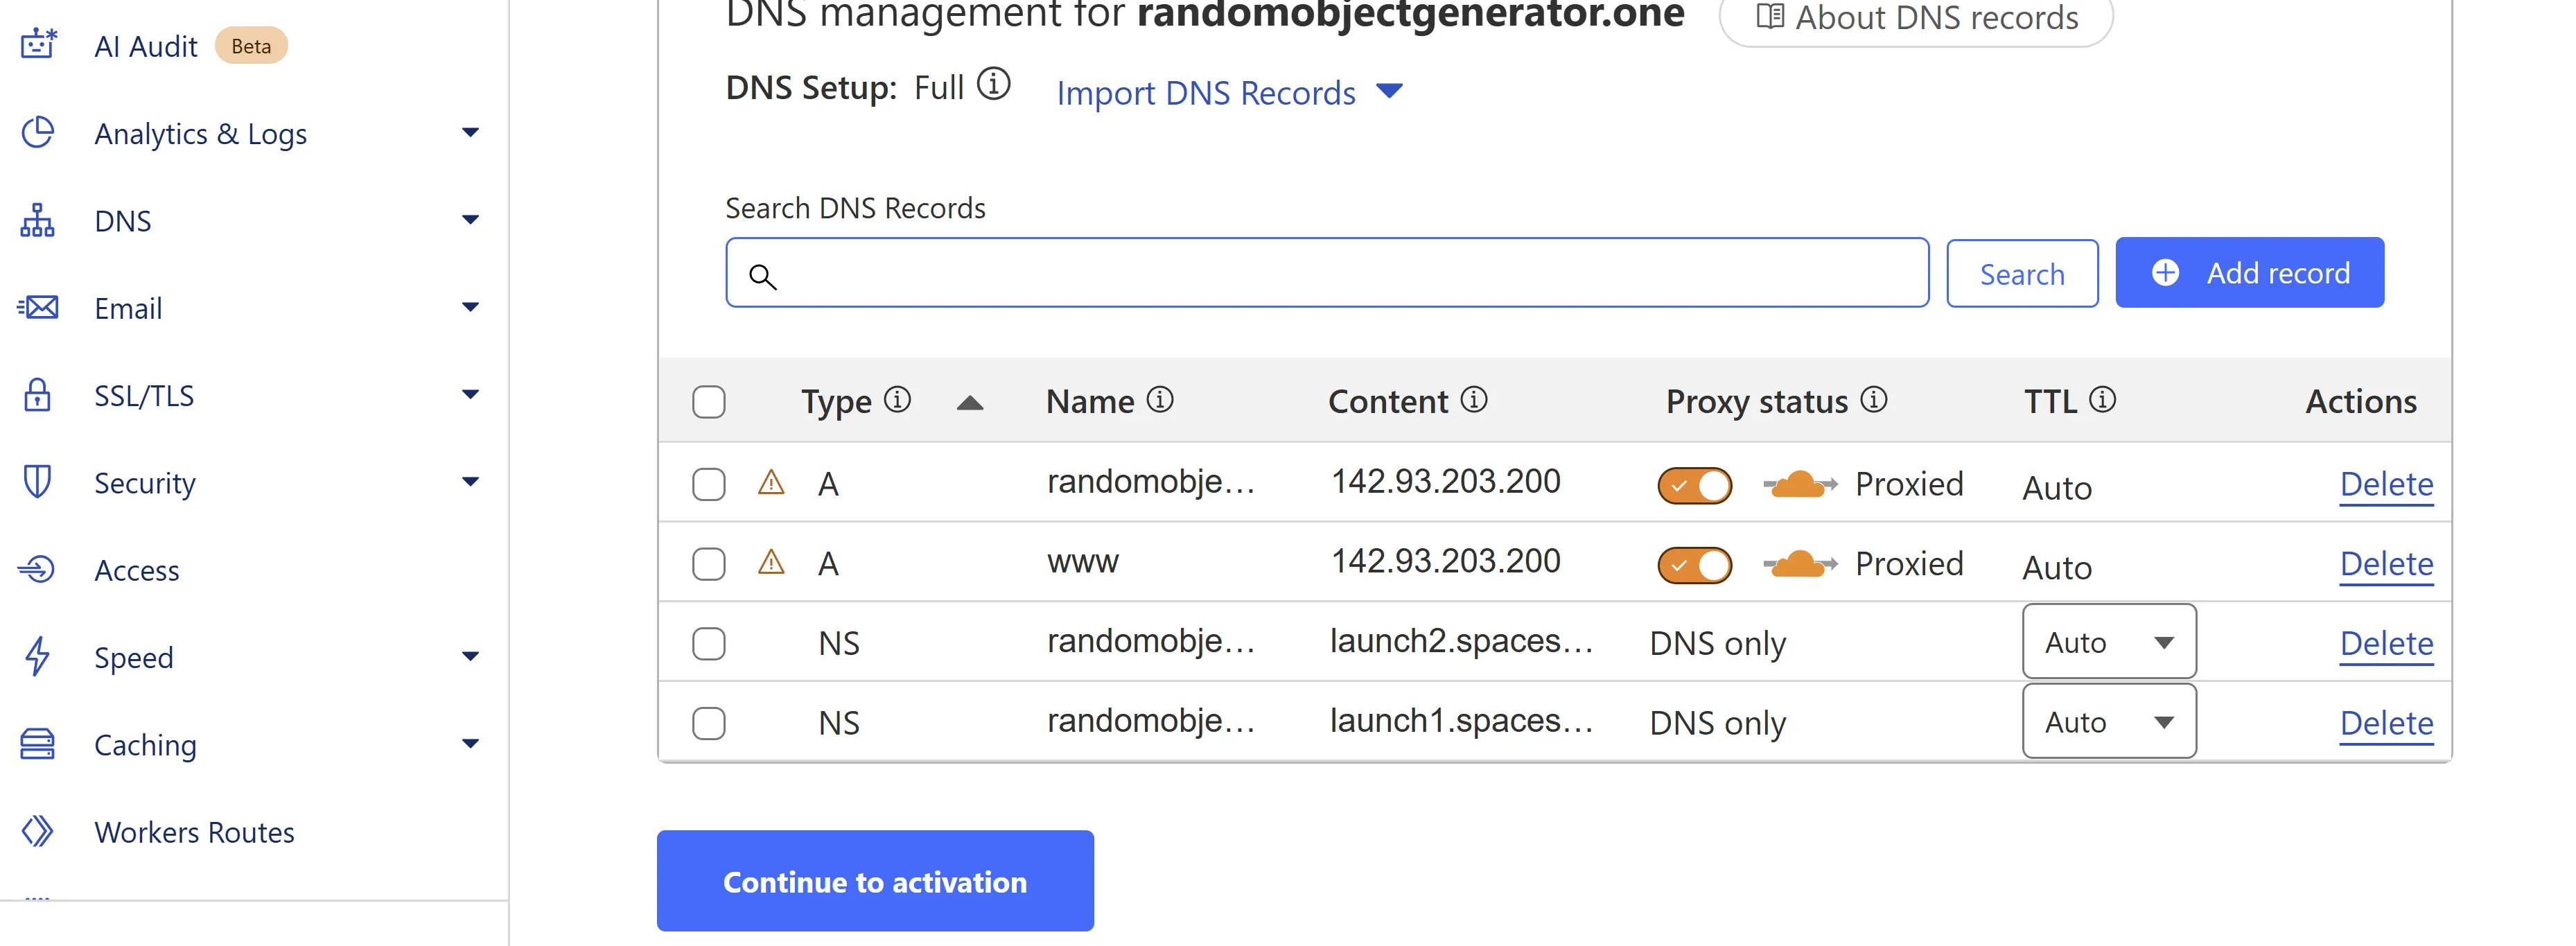
When you have a Cloudflare account, please log in to Cloudflare and on the main screen, add your domain and select quick scan, which should scan your existing DNS records and set up all accordingly.
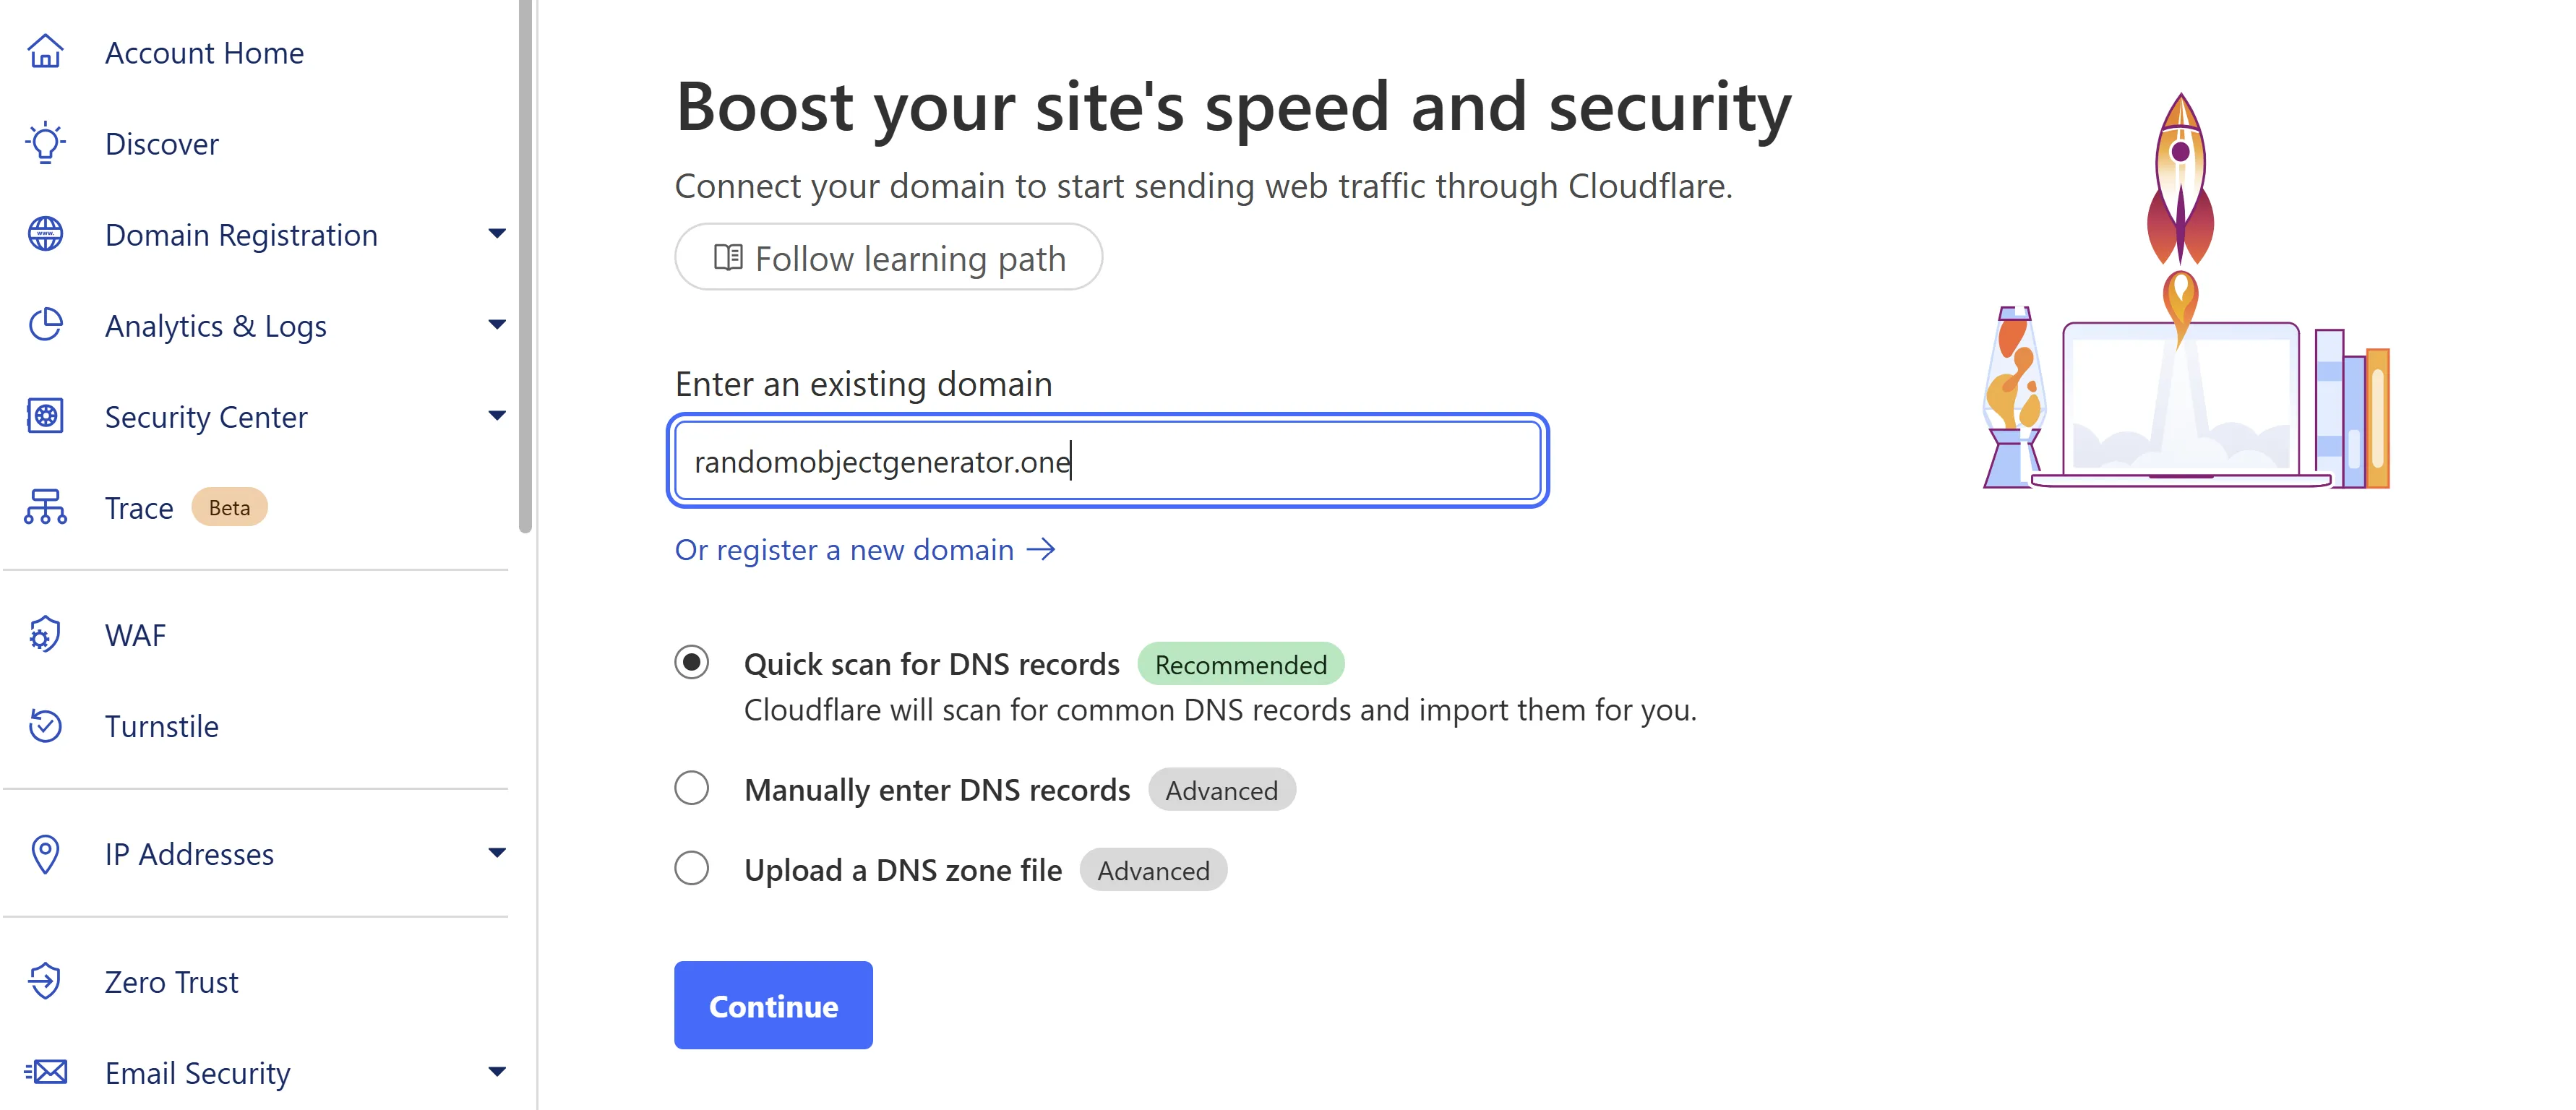
Then select the free plan, then continue to activation:
Then you will get to the page where you should get nameservers:
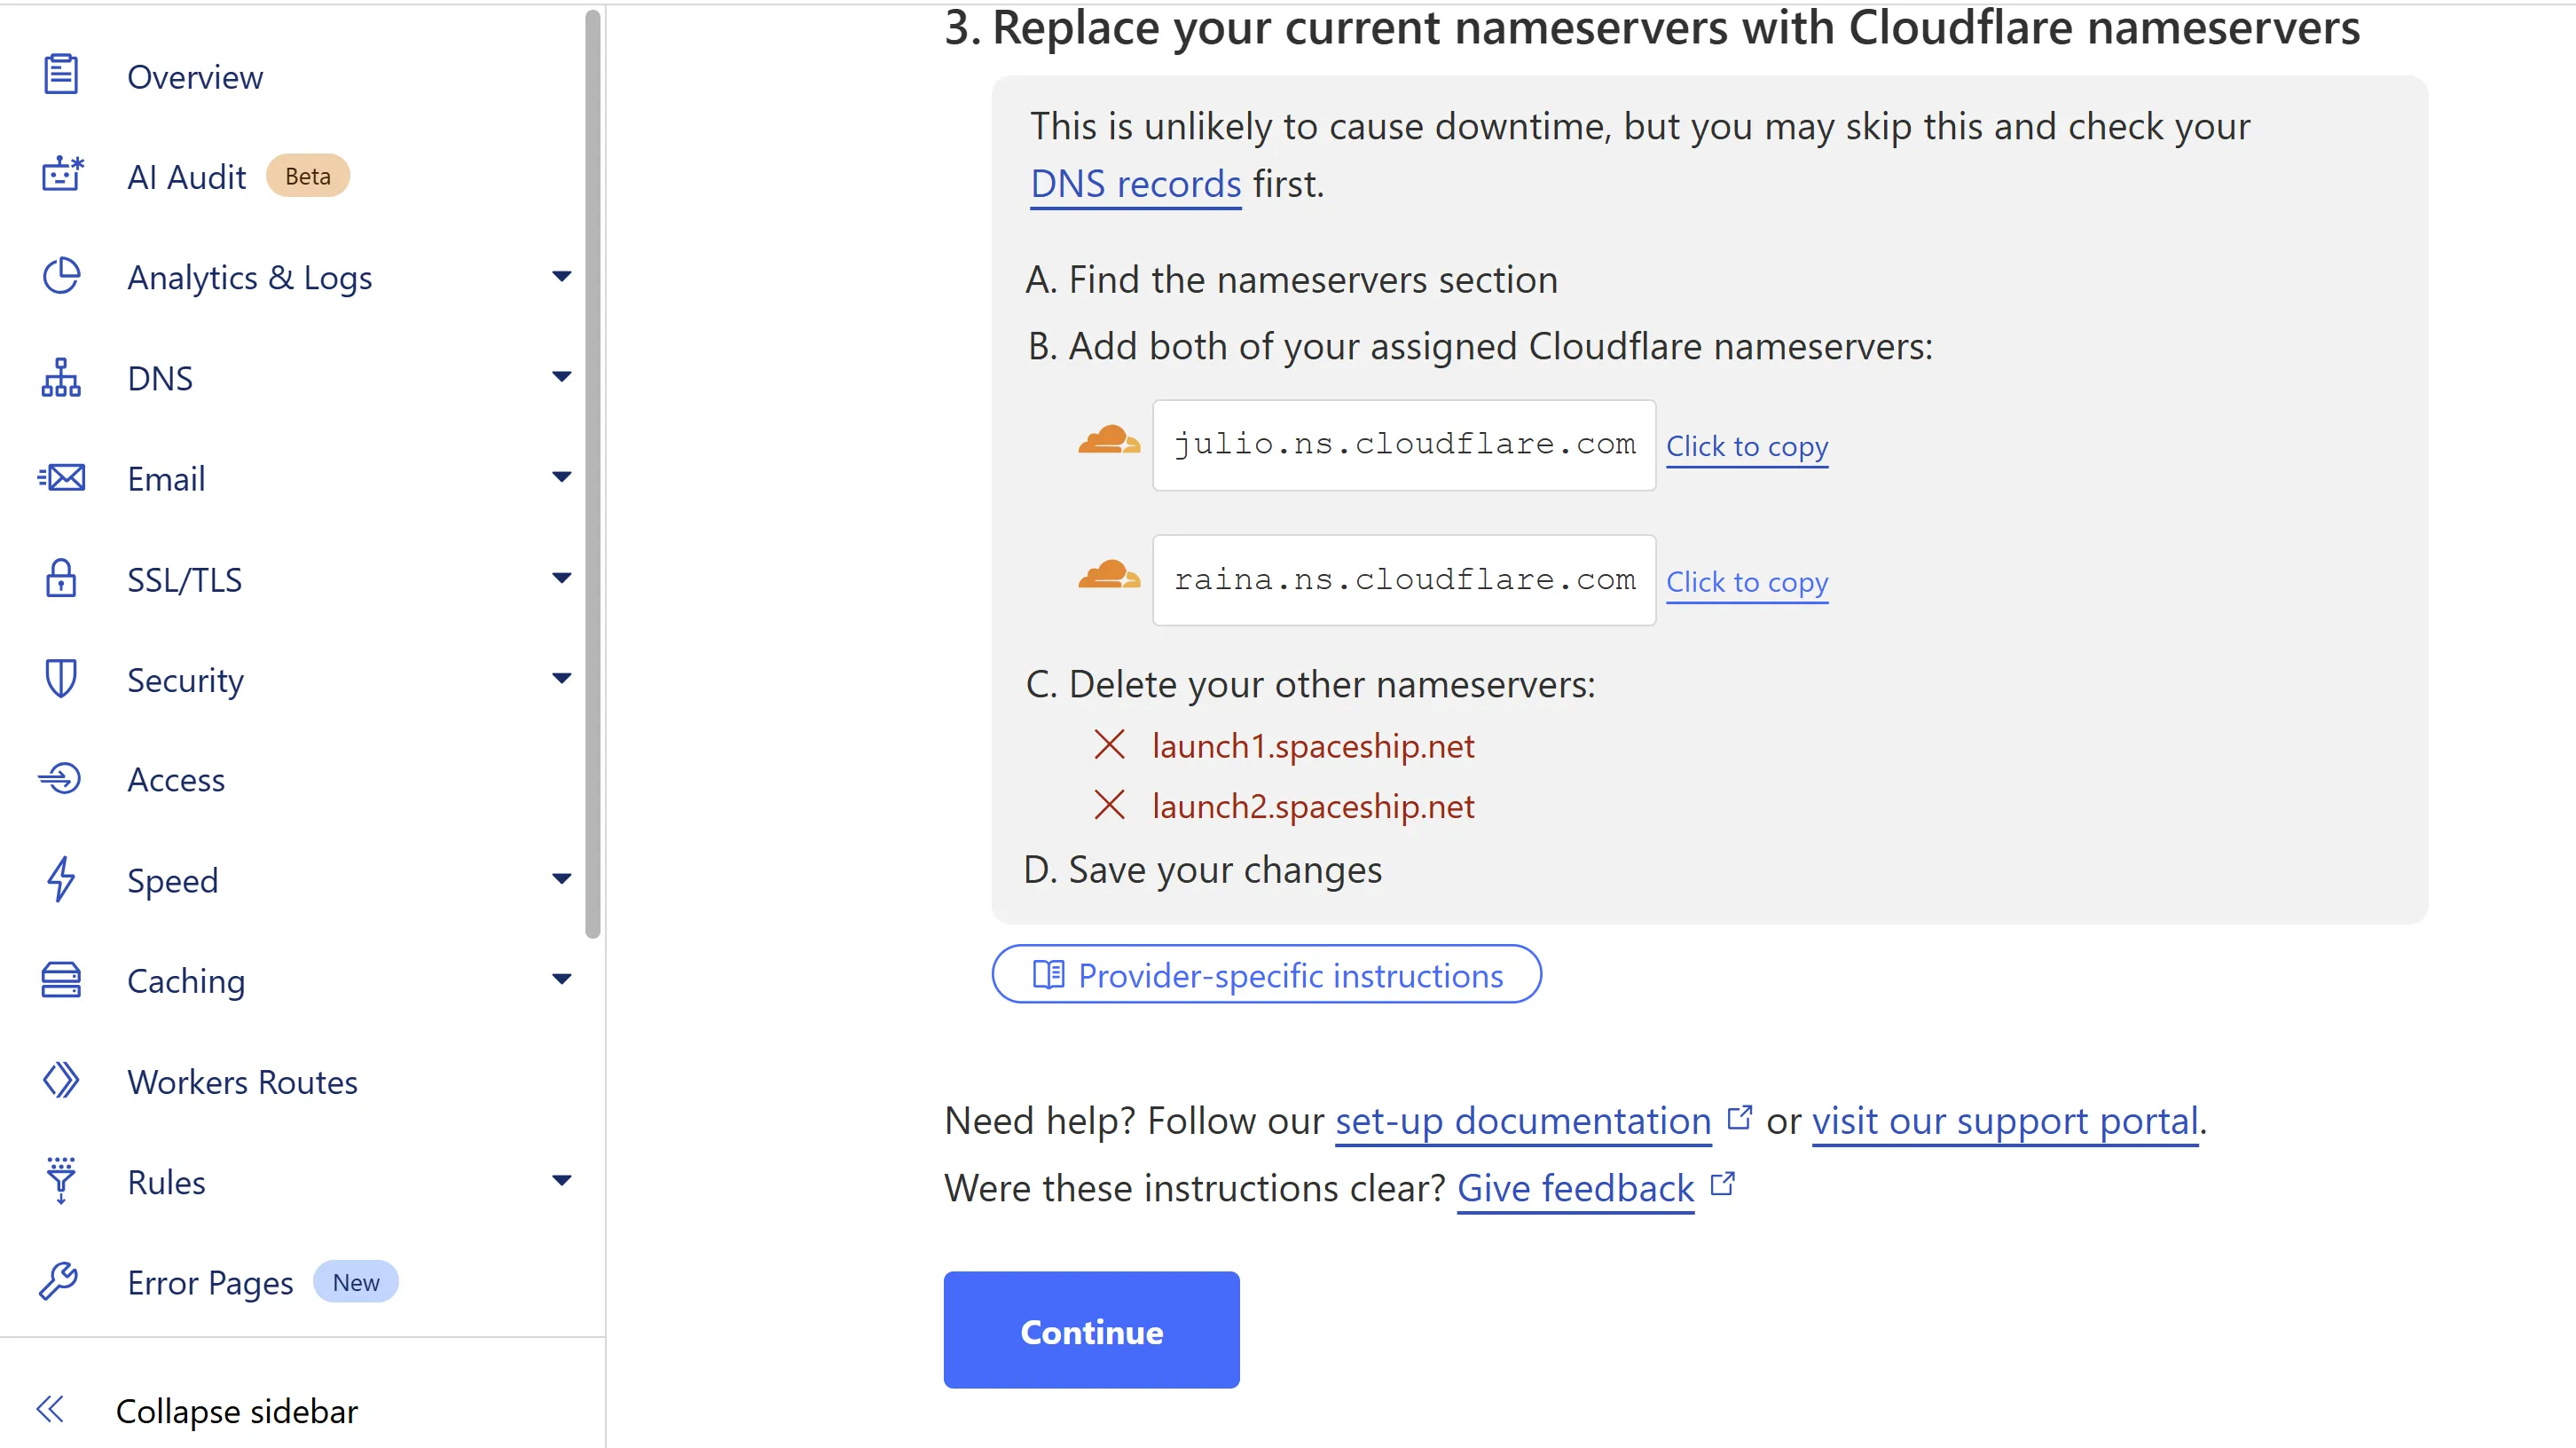
Now those nameservers you should put in your registrar.
In this example, those servers are:
julio.ns.cloudflare.com
raina.ns.cloudflare.com
additional manual from cloudflare:
When you set up your registrar, press continue and then press check nameservers.
In a few minutes, you should get an email that all is good, and then you can go to the main screen and see that your server is active:
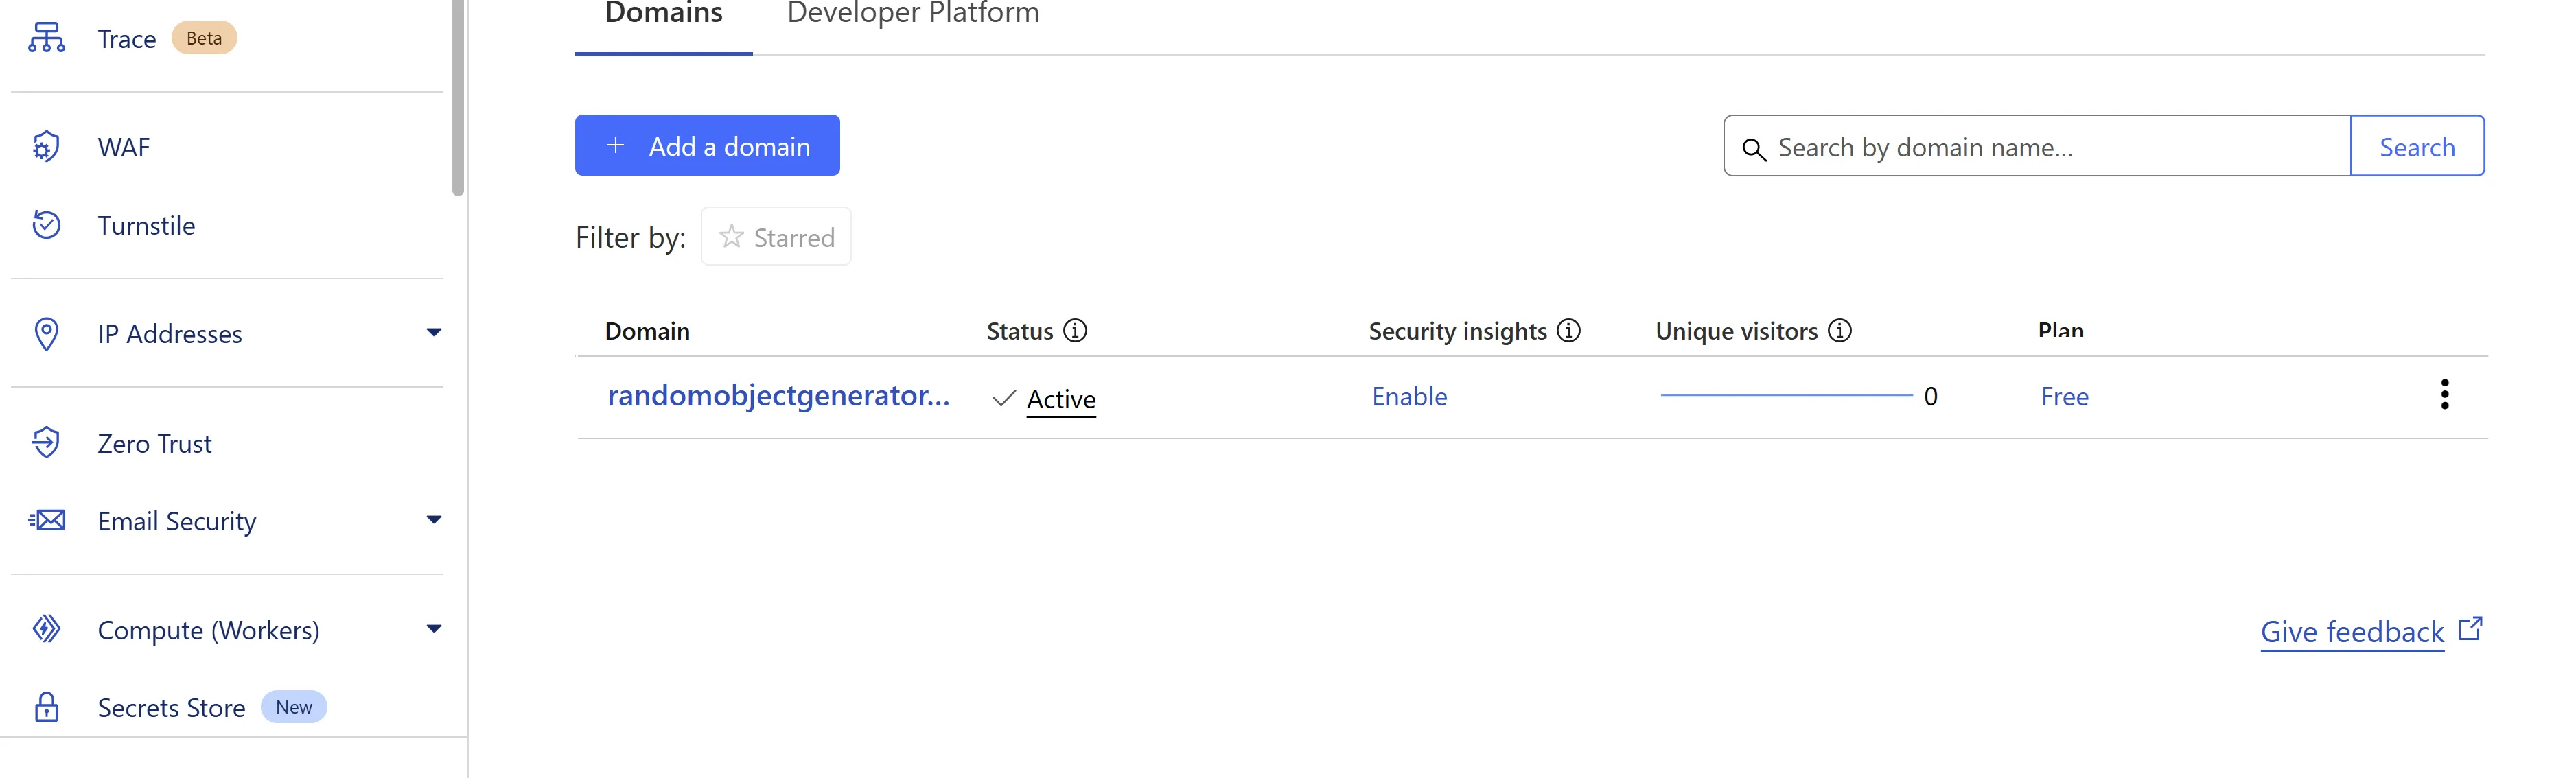
Obviously, your setup may differ, but on my test installation, I instantly got:
ERR_TOO_MANY_REDIRECTS:
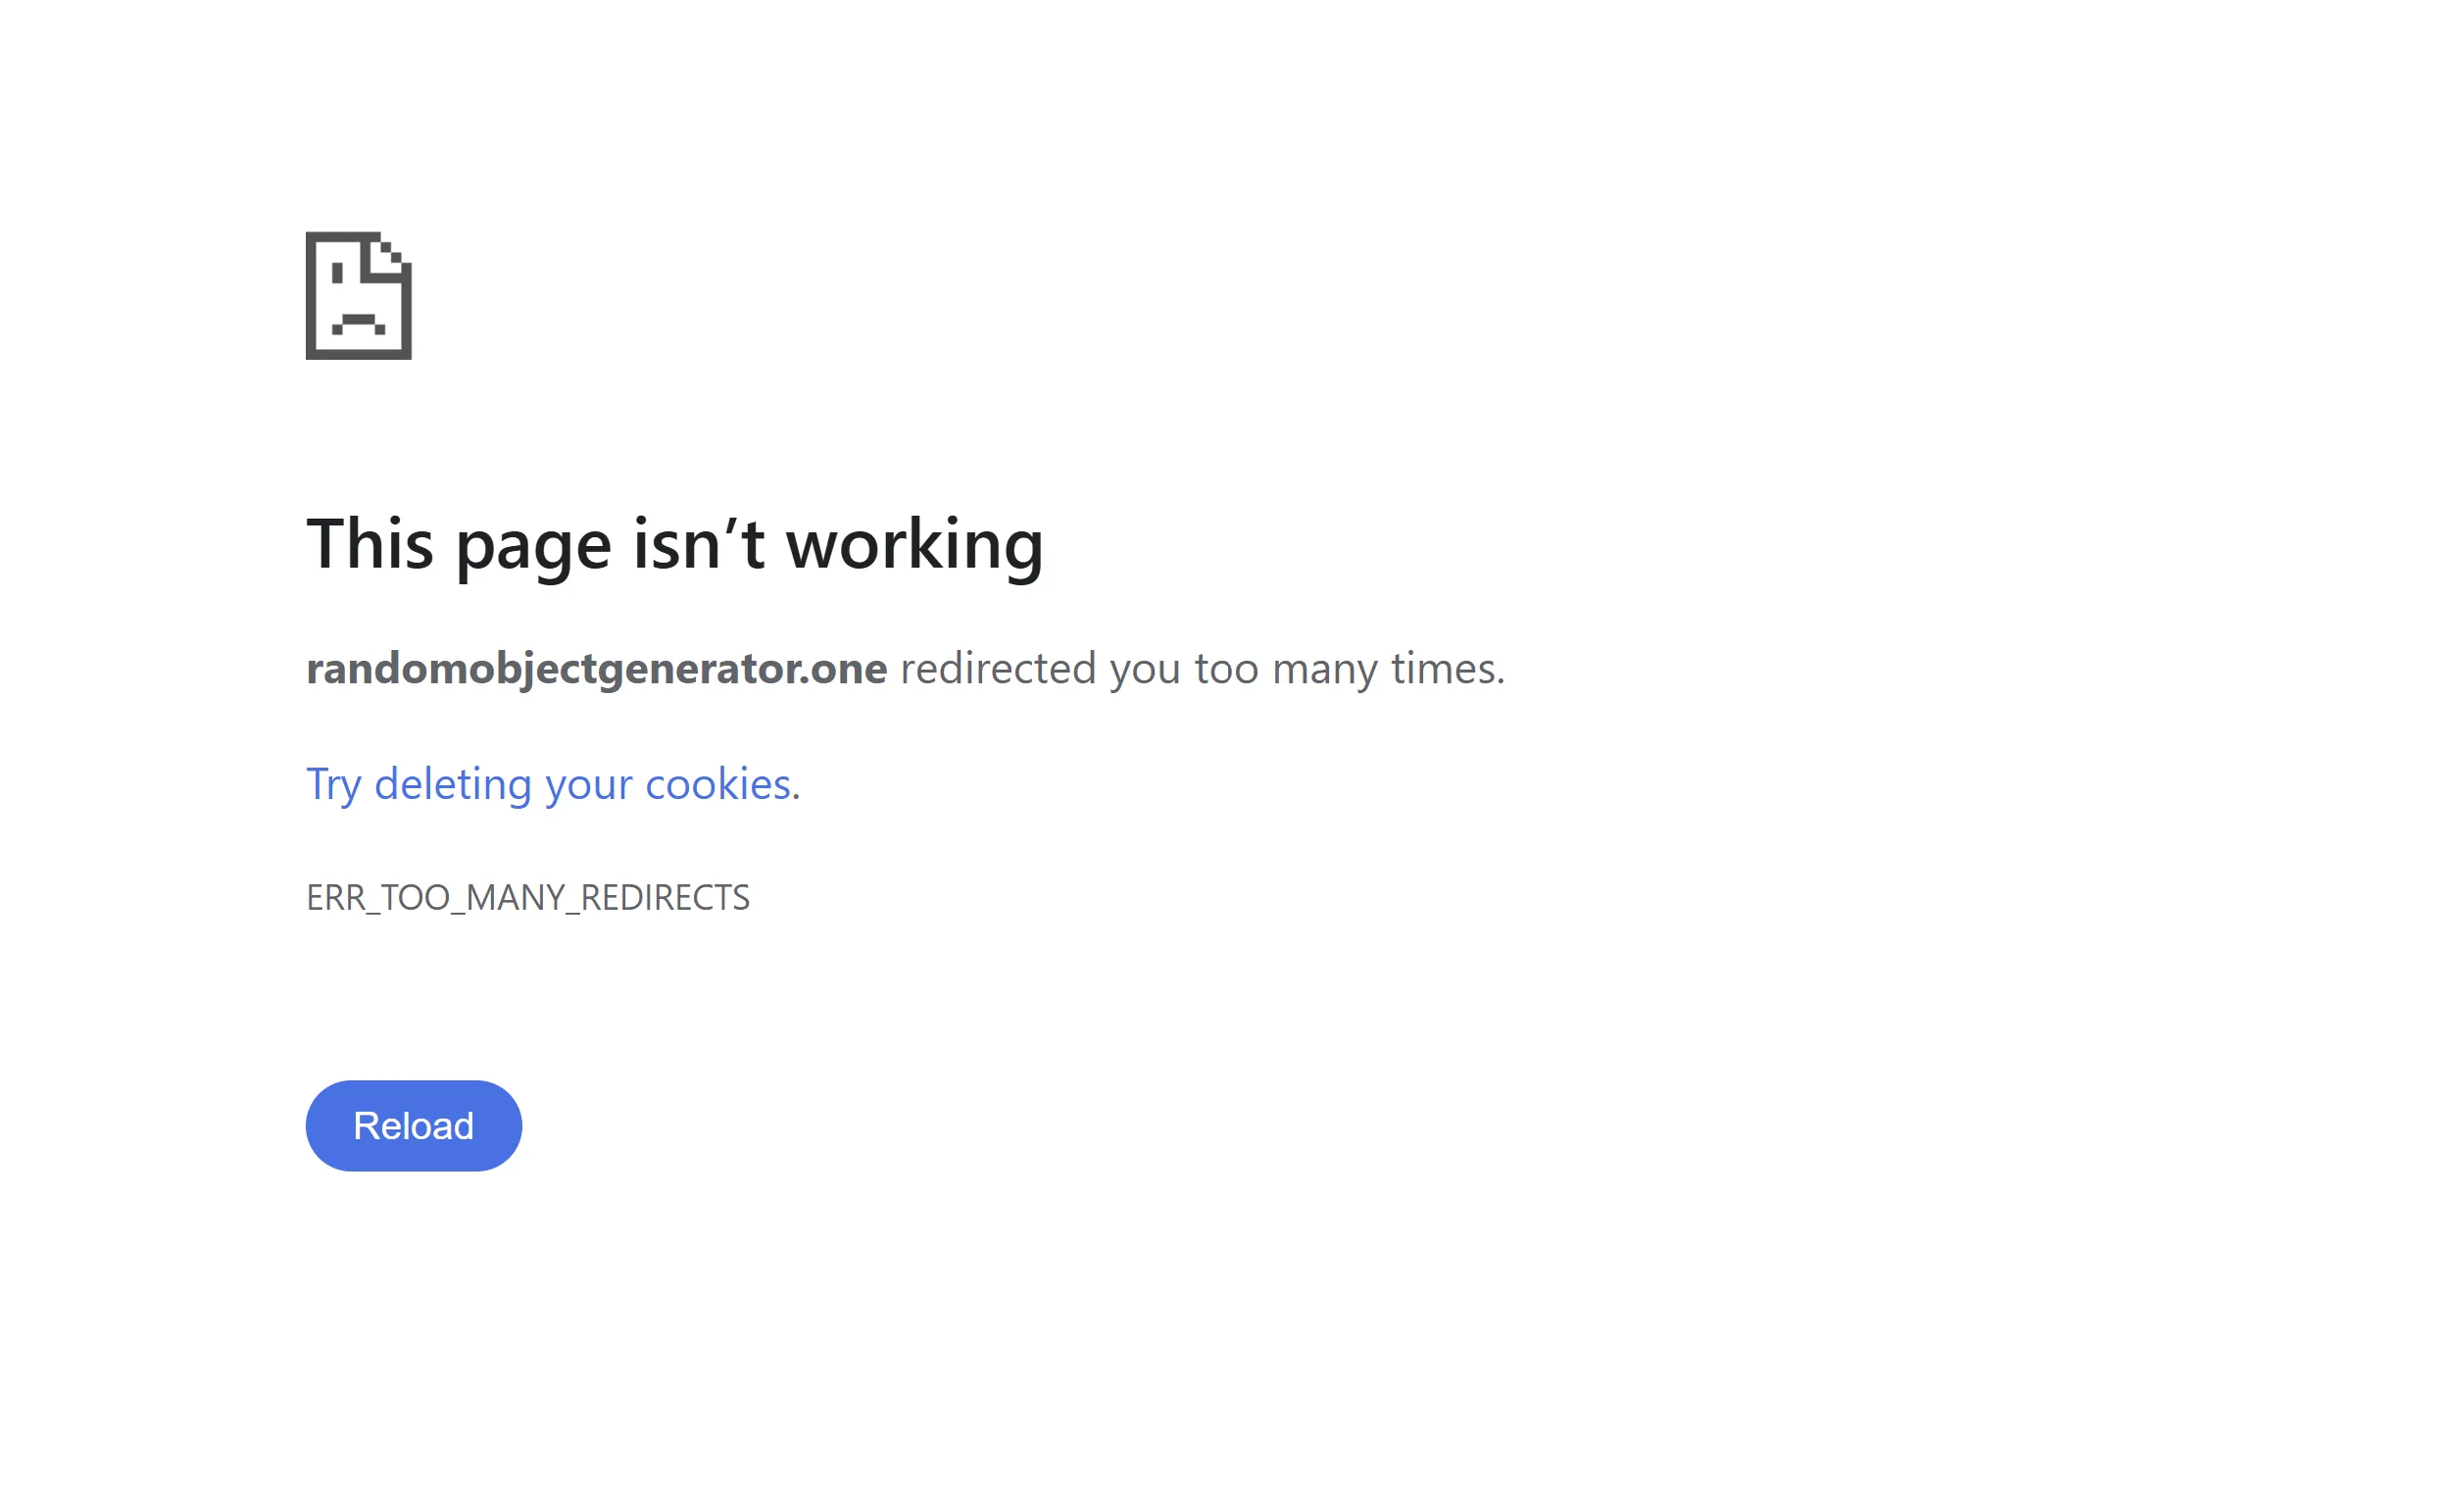
That means the end-user connects to Cloudflare via HTTPS, and then Cloudflare tries to connect to your server via HTTP. My server sees the connection via HTTP, wants to redirect to HTTPS, and it creates a loop. It seems it is because, by default, Cloudflare uses encryption mode as Flexible:

To fix it, you can select either Full or Full (Strict) encryption. So the connection from Cloudflare and to your server will be encrypted. If you use Full (Strict), make sure you use a valid certificate on your server or one which Cloudflare provides, otherwise, you will face issues. And if you stick with Full (Strict), make sure you don’t forget to renew the expiring certificate, otherwise, you might end up in the same troubles as some big corporate companies.
Long story short, after setting to Full (Strict), my WordPress website was online again!
Configure Super Page Cache WordPress plugin
Next step would be to install the plugin on your WordPress. Just go to your WordPress admin panel, then to plugins, and hit Add Plugin, and in the search bar, put Super Page Cache:
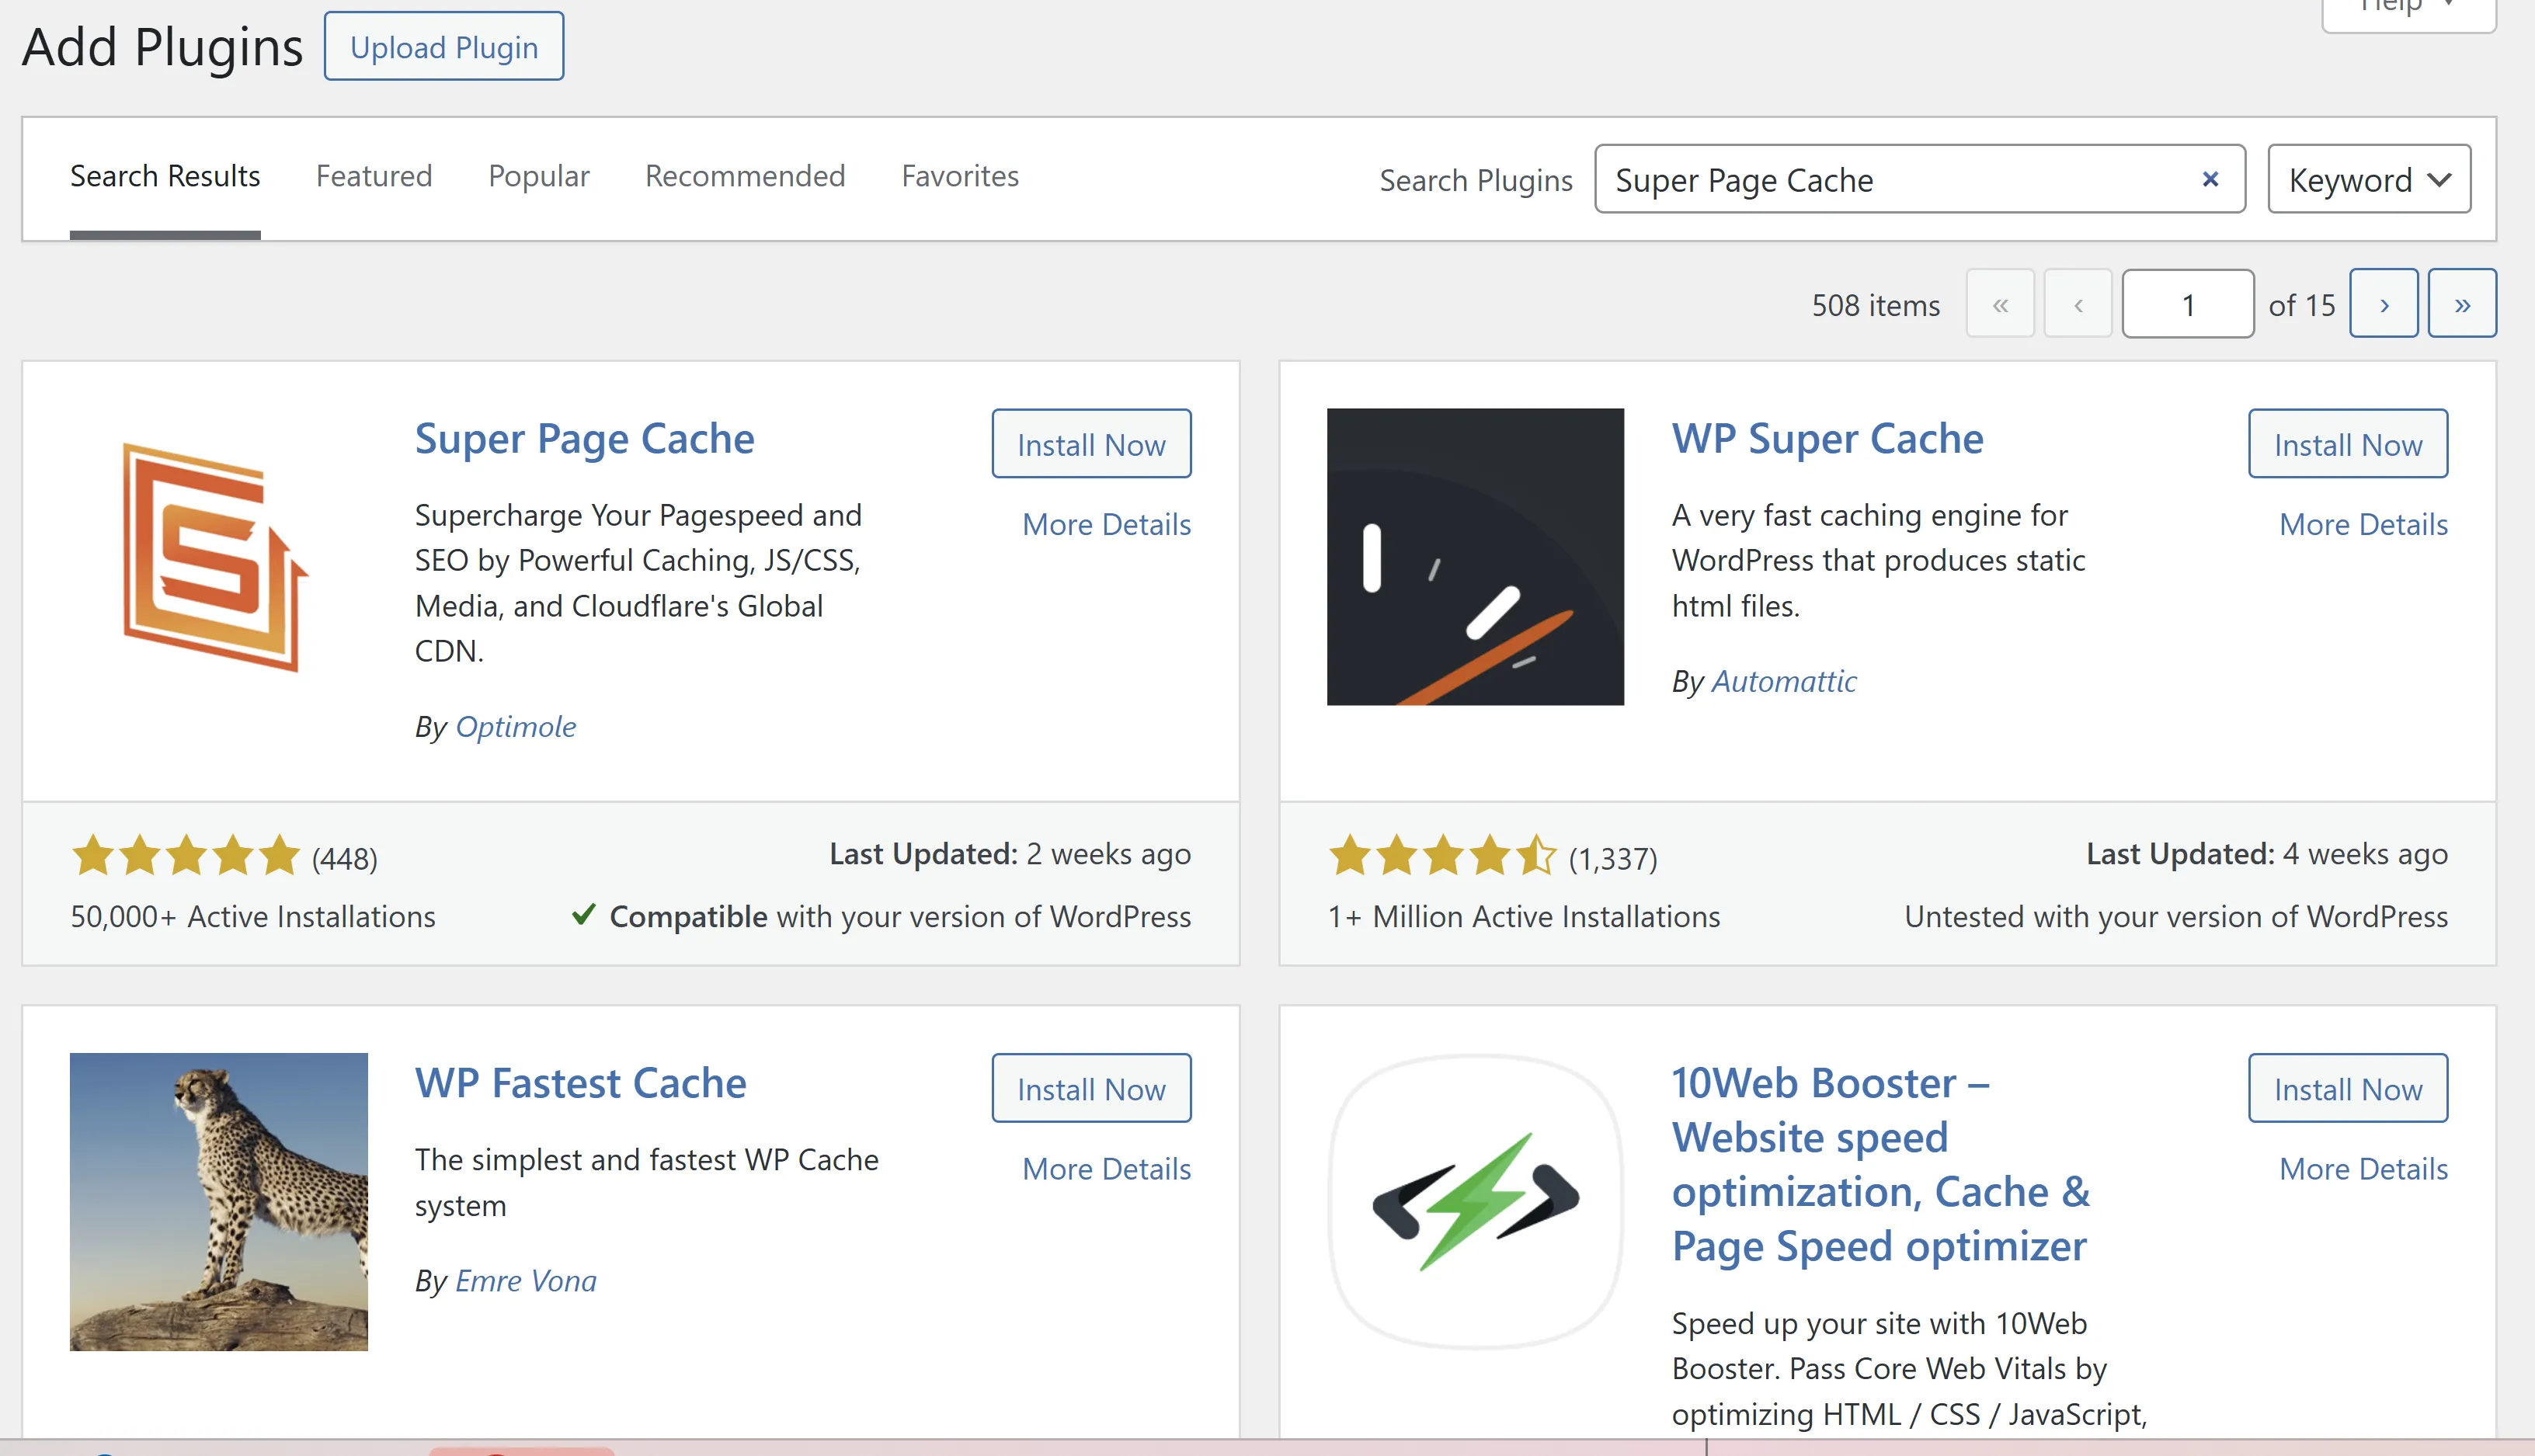
Click Install Now and then click Activate, then it will open new screen:
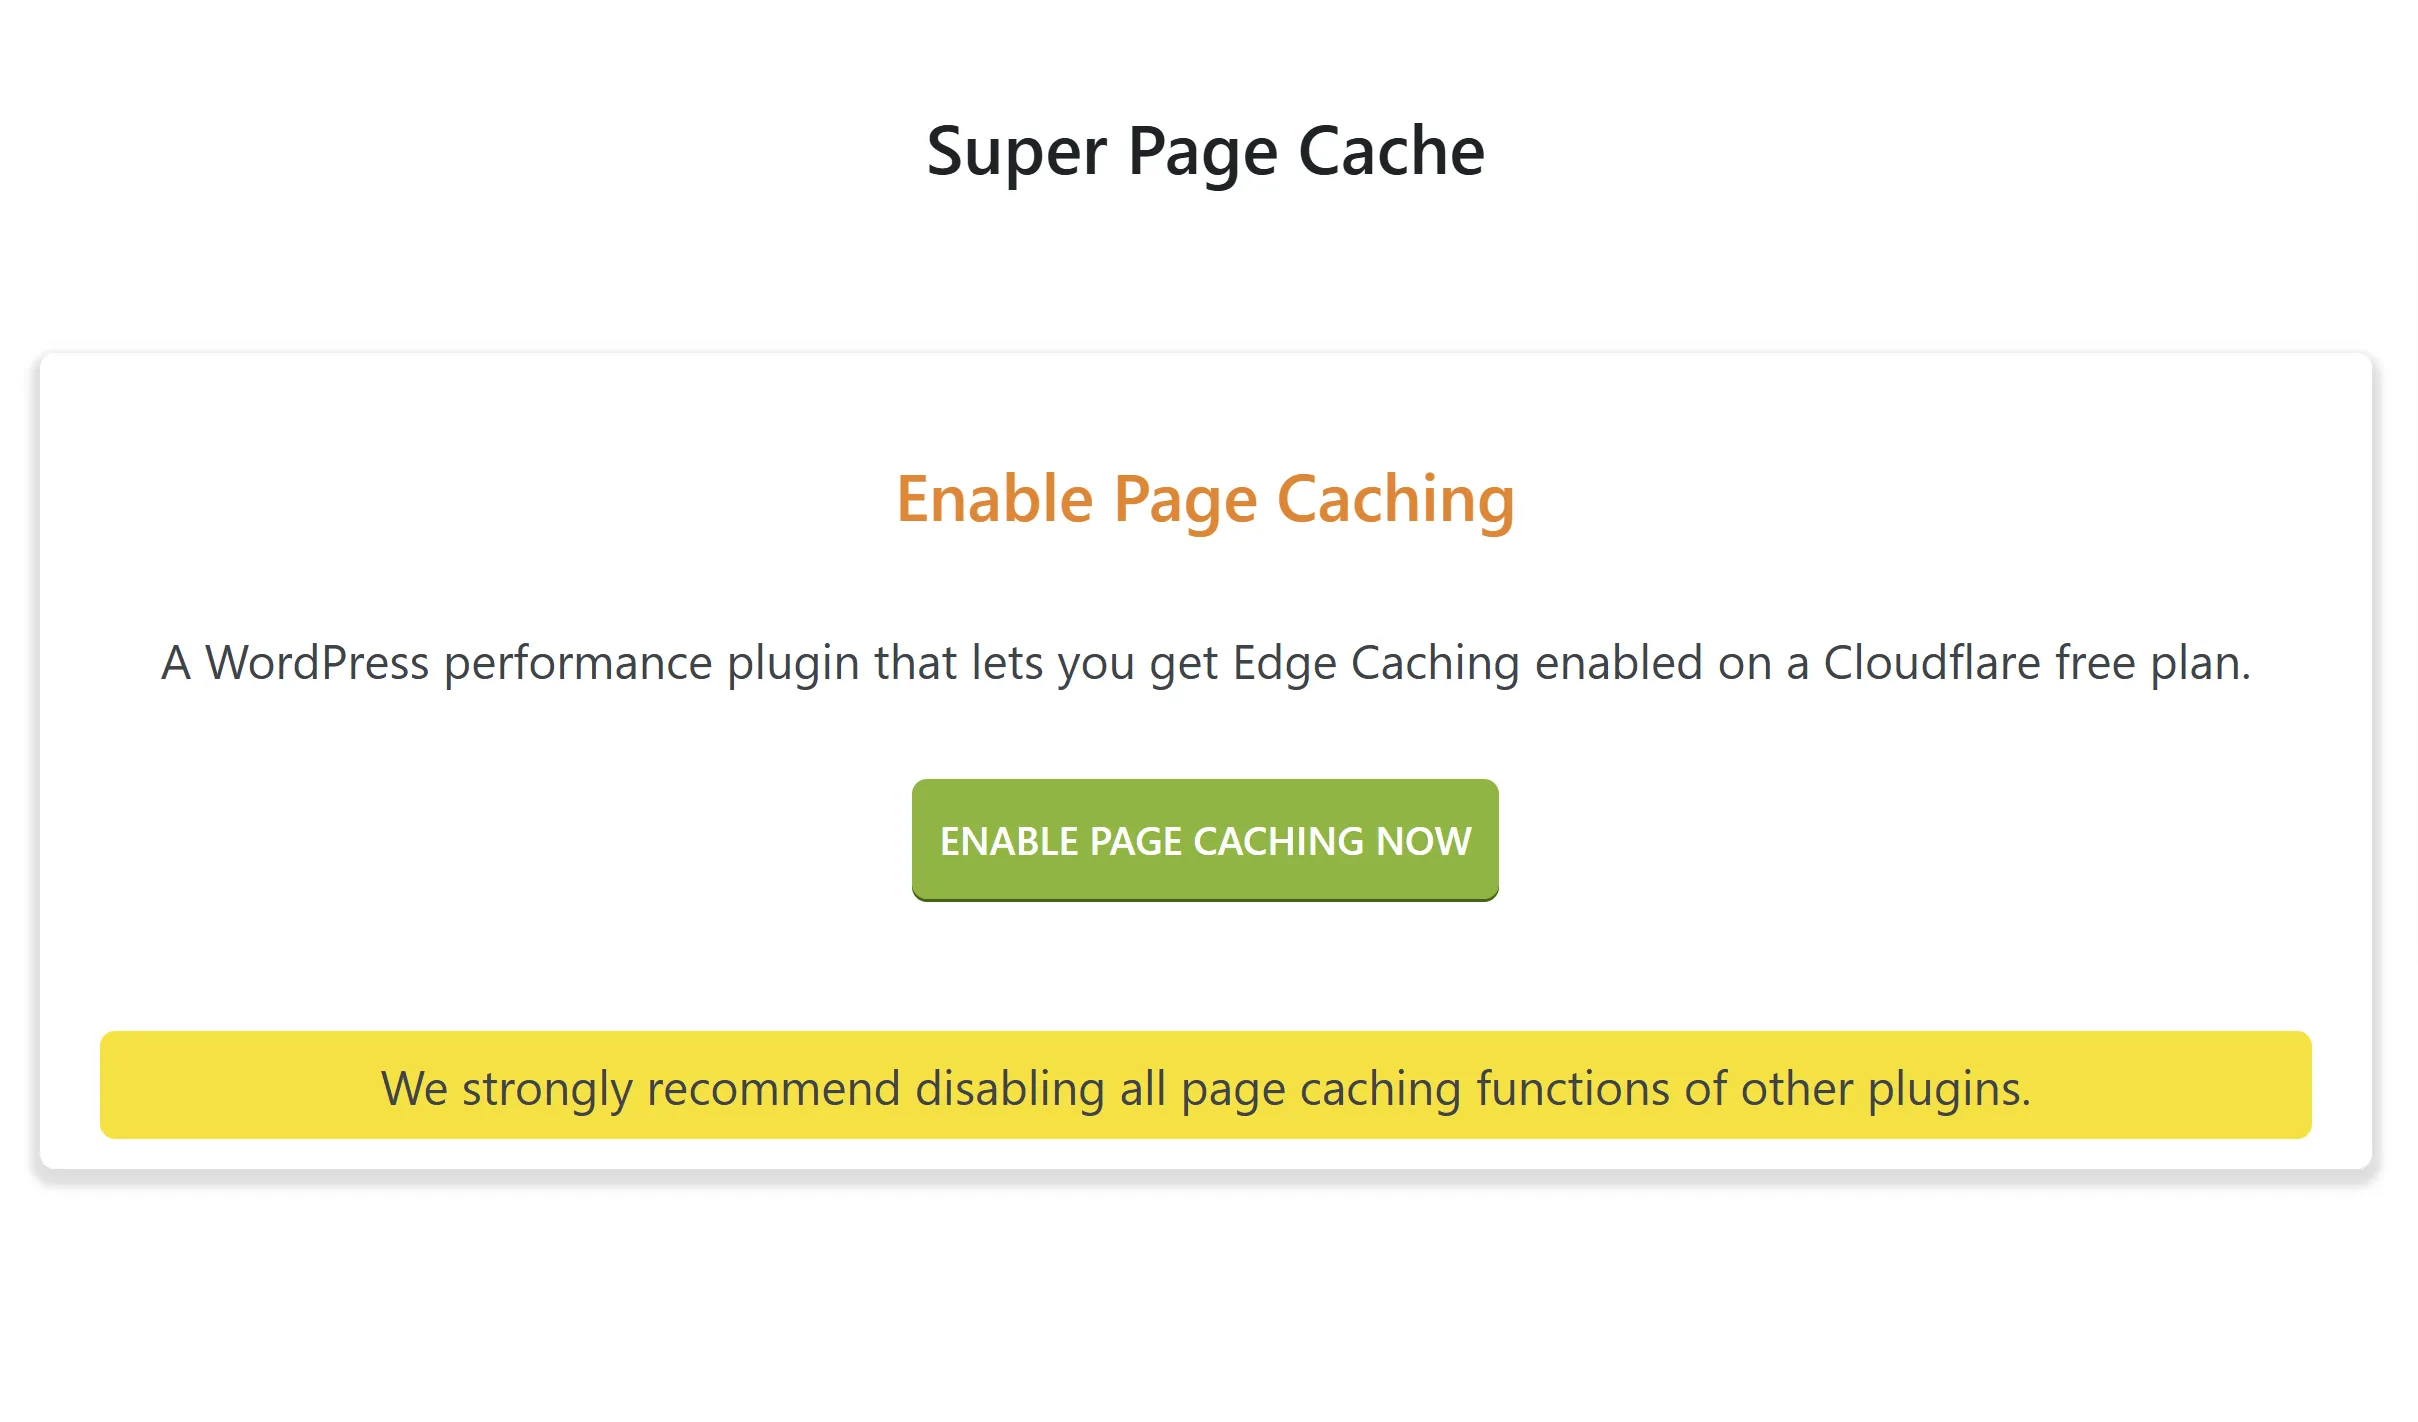
Please make sure you disabled caching of any other plugins if there were any!
Then hit ENABLE PAGE CACHING NOW
You should see confirmation with Page cache enabled successfully
Getting cloudflare API key
Next, we need to get an API key so we can set up the Super Page Cache plugin to authorize and update necessary settings in Cloudflare.
To get the API key, go to Profile => API Tokens and click View under Global API Key. Make sure you secure your API key, don’t share it with anyone!
When we have the key, we can continue with the Super Page Cache plugin
Configuring Cloudflare (CDN & Edge Caching) in plugin
Go back to your WordPress admin page => Plugins => Super Page Cache => Settings => Cloudflare (CDN & Edge Caching). Under Cloudflare e-mail, put your Cloudflare email, and under Cloudflare API Key, the key we just grabbed from Cloudflare, and press UPDATE SETTINGS:

Then on the new window, make sure you have the correct domain name under Cloudflare Domain Name. If you have several ones, for me, it took straight away the correct one:
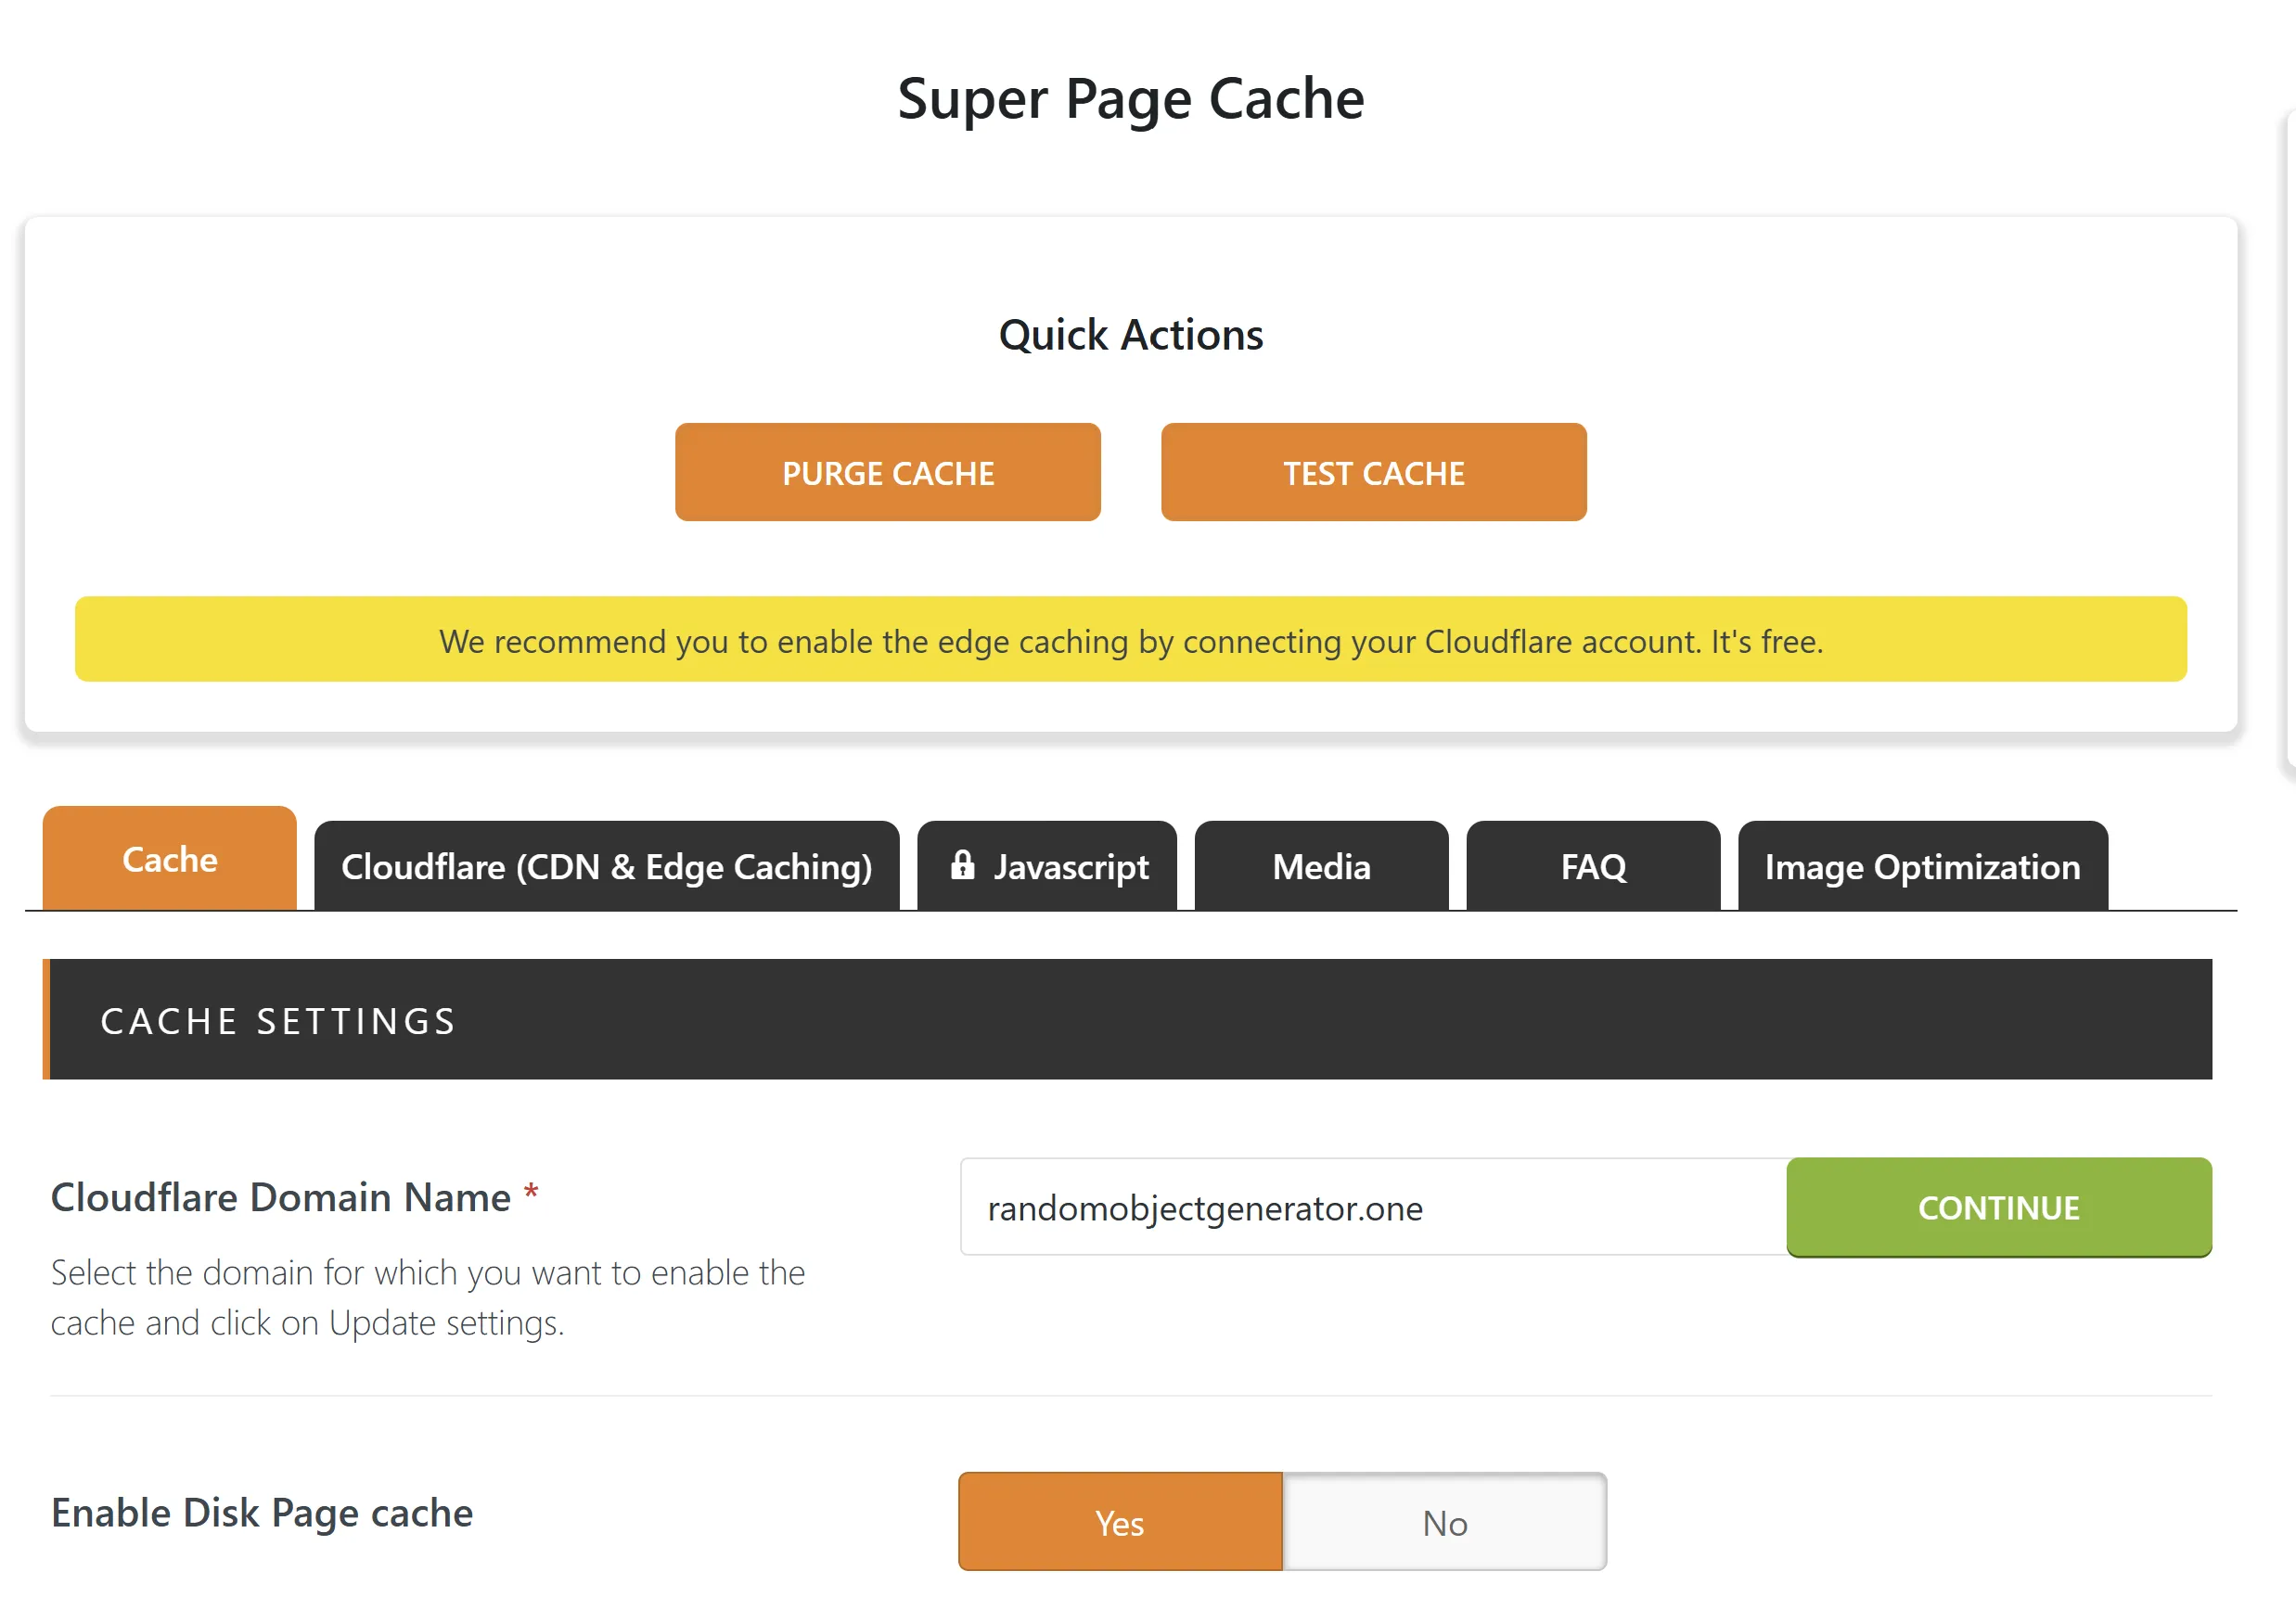
Hit Continue, and you should be good!
Validate Super Page Cache plugin
Next, a good idea would be to double-check that all is good, so on the same page, just click TEST CACHE, and if all is good, you should see this screen with 2 green ticks - Cloudflare Page Caching is working properly & Disk Page Caching is functional:
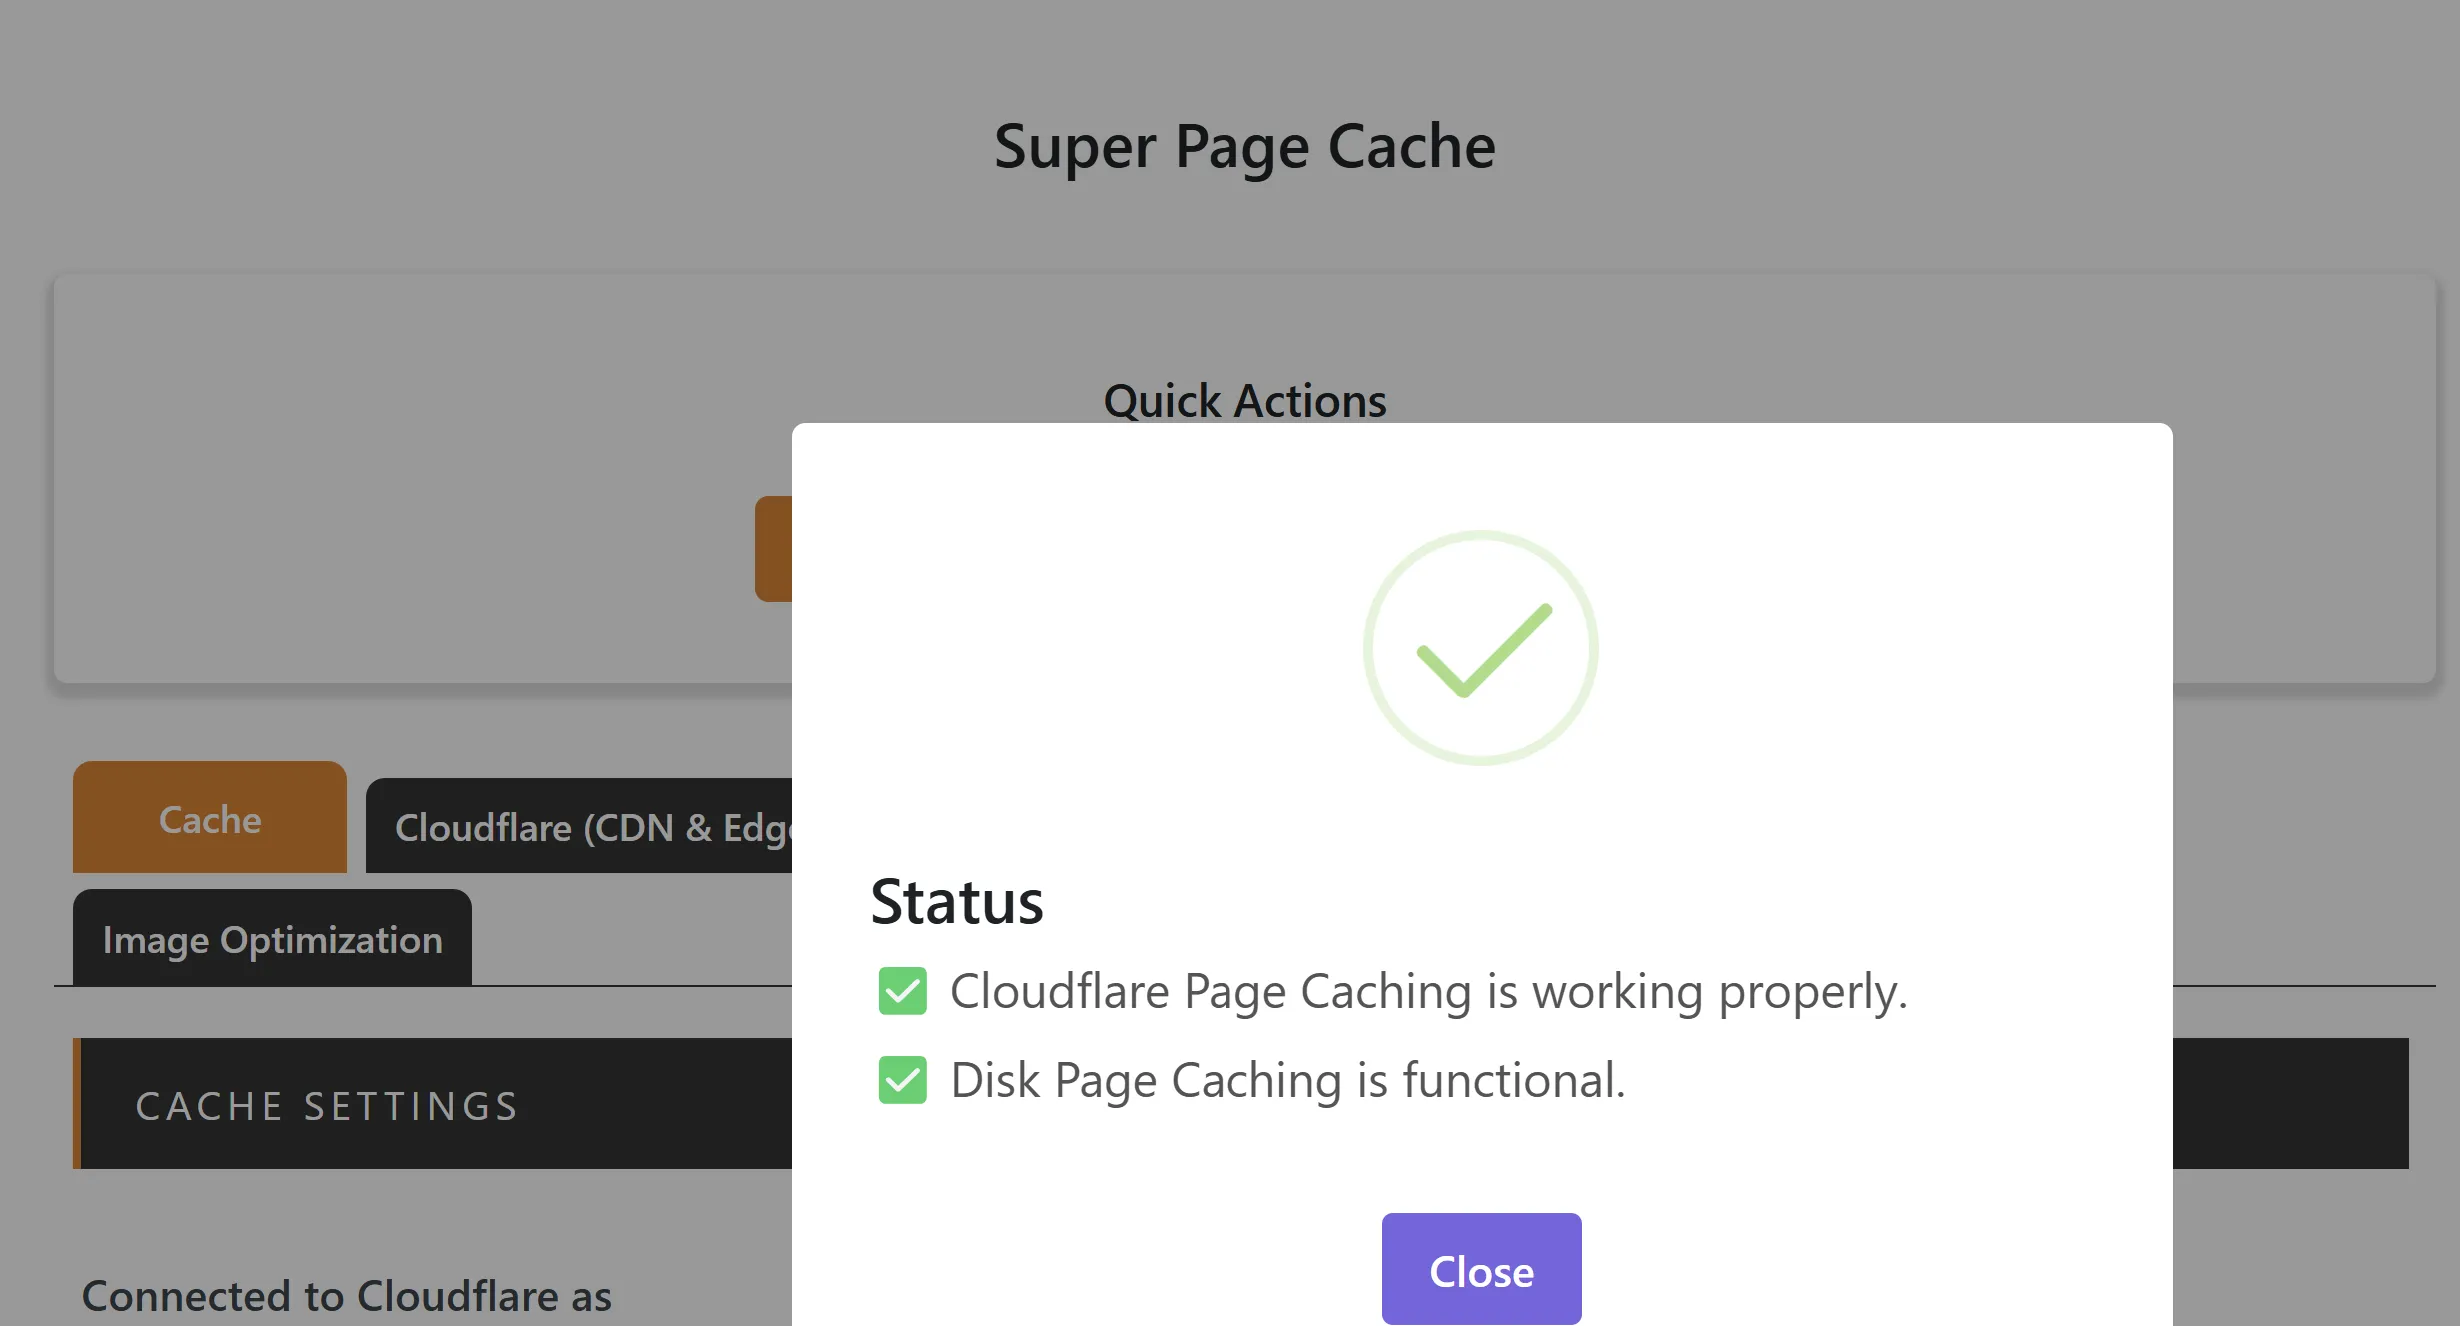
And we are done!
Conclusion
Obviously, the Super Page Cache plugin is just one piece of your infrastructure/deployment, and it is not a silver bullet, and if you have several underlying issues with your setup, I doubt that it will help a lot. Nevertheless, it can speed up your WordPress significantly, which is not just promises but backed up with statistics from my monitoring of my WordPress setup before and after I installed the plugin. I was not paid or sponsored by the author of the plugin, I just felt that I must share this with others, because for me, this plugin worked really well and way above my expectations, and most importantly, this costs nothing. You get all this performance improvement for free!
Want to support me? Check out my monitoring tool - it's free!